1 cup liquid, warm fully risen starter (sponge)
1 cup warm, pure chlorine free water
approx. 3 1/2 to 4 cups flour whole wheat, whole spelt, white wheat, or combinations
1 1/2 tsp Real Salt or other natural, high mineral salt
flour for kneading
Optional; 1 TBS honey or agave and 1 TBS butter or ghee
I have two glass jars in the fridge with sourdough starter in each. I prepared one to give a woman who attended my first fermentation seminar in February, but she never came to get it, so I have two that I try to keep alive by making bread. I look to see which one is slightly darker and that is the one that is the oldest. I have to allow the starter to warm up and expand and grow before making bread. I put the approx. 1 cup liquid starter in a large glass bowl and let it warm up and add 1 cup of warm chlorine free water and 1 cup flour. Today I used 1/2 cup whole spelt flour and 1/2 cup white wheat flour. I stir that around and set it in a warm place. It's July now and air conditioning is on so I heat oven on warm for only 30 seconds and turn it off and place the "sponge" with damp dish towel cover in the oven. I keep checking it every hour to see if it is bubbly and active. It may take anywhere from 2 hours to 24 hours. I got my original starter from Bonnie who lives in Heber Valley and comes to Orem to Real Foods Market a couple times a year with Sourdough starter and Keifer pearls. Starters can be purchased in health food stores in dried form, but it is better to get it from a friend. You can also nurture "wild yeasts" with some patience.

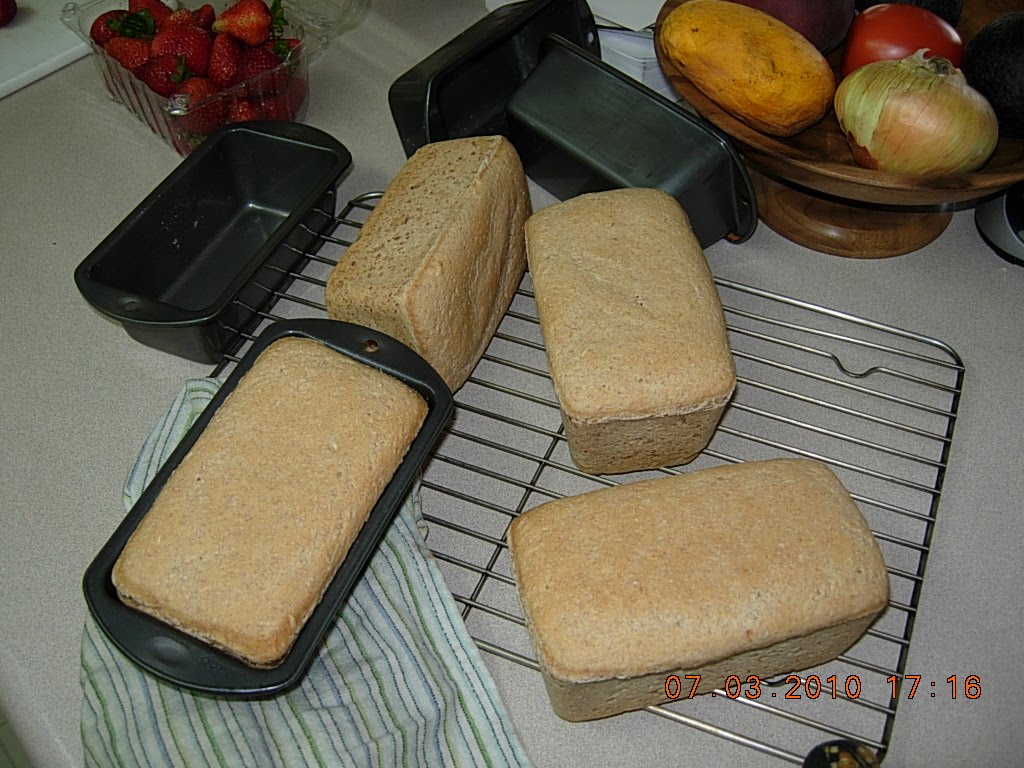
Why sourdough bread? Because it is easier to digest and more nutritious. I used to be a grind-the-wheat-in-your-storage-and-make-bread kind of woman in the 70's and 80's but then had to get back to teaching school (art) and didn't have time for bread making anymore. When I tried making my own whole wheat bread again, I had trouble digesting it. I learned 5 years ago that being a blood type O, wheat, was a number one avoid so I dropped all wheat and starchy foods all together and enjoyed a "renaissance" of health. Living without bread was tough, but I survived and thrived just fine. However, when I started studying and experimenting with soured or fermented foods, I found to my delight that I could eat sourdough bread without the ususal "lead" feeling and immediate constipation. I looked around, researched and tried a lot of different ways of making it and found one that works for me. I love to make bread again but I cannot consume all that I make, so I must give it away or sell it. I make 4 small loaves with this recipe and I freeze the ones I cannot eat. My Husband, Perry, (a blood type B) can digest regular whole spelt bread (Prarie Grain Co. out of SLC and sold in many local stores) without too much problem so he won't eat my sourdough bread. He doesn't like the sour taste although I learned that I can "tone down" the sour by adding 1 tsp of baking soda to the dough during the kneading process. He still won't eat it.
My "sponge" has been in the oven all day and it still won't get all bubbly and active and it doesn't smell yeasty so I just now added just a light sprinkle of dried yeast starter that I bought at Good Earth, health food store in Orem. It says that it is a San Franciso sour yeast. Those who really know this stuff say that every region, city or area has it's own unique yeasts and that purists can tell the difference. Well, I'm not a "purist". I am a novice at this.
If the "sponge" takes off in the next couple hours, my next step is to make bread!
I will remove 1 cup of the "sponge" and return it to the pint, glass jar, label it and return to fridge. With the remaining "sponge" I will add 3 1/2 more cups of flour, in small batches, another cup of warm chlorine free water, in batches, 1 1/2 tsp. Real Salt (natural, full mineral salt), 1 TBS. ghee and 1 TBS. honey or agave. I will mix this all thourghly and warm the oven again, cover it with damp towel and wait another couple hours or over night.
I forgot to take out one cup of the "sponge" to return to glass jar and fridge for next batch. I added 2 cups of the flour, part of the water, the ghee, the agave and the salt then remembered. What to do now? I mixed the dough and poured off one cup and returned it to the fridge. Won't know if this will make a next batch in a few weeks. I labeled it, we'll see. Meanwhile, I added back in the rest of the flour and water and mixed it together and set the bowl back into warm oven with damp towel cover. 4 hours later, the dough doubled and smelled good.


I made another batch of bread today, Tuesday, July 20 and I used that 1 tsp. baking soda option and it turned out really nice...not as sour. Some like the sour taste but for those that don't, use the baking soda. I just found Brock's blog today with great information on yeasts, wild yeasts and the history of sourdough. He does a blog for Deseret News from time to time because his interest is in pioneer foods. He researches old diarys and old cook books and tries out the recipes. I've included his link. http://www.pioneerfoodie.blogspot.com/
Note Aug. 11, 2010
The starter I saved that had some salt, sweetner and ghee in, worked! I just made a batch of bread with it and the yeasts were very much alive and the bread tastes really good. I now use the 1 tsp. soda option in each batch of bread cause it does tone down the sour taste. My bread is a little crumbly which is good because that means the gluten has been deconstructed some by the yeasts. This really is a good recipe!
I am type B and would love to make my own sourdough bread. What do I need to do to make a starter?
ReplyDelete